How to mount 3PCS Lensun 50W 12V Black Flexible Solar Panels on VW T5 Caravelle with Thule Slide Bars and Fiamma F45S Sun Canopy
Thanks very much for Andrew Brailsford to share how to mount 3PCS Lensun 50W black flexible solar panels (Its update to 55w on Sep., 2018)on his VW T5 Caravelle/Camper with Thule Slide Bars and Fiamma F45S Sun Canopy. The following is the original reviews about how to install Lensun 50W Black Panels from Andrew.
Hi Alice
Yes I did receive all the parcels. As My installation was maybe a little more complex than the average installation as I didn't want to drill any holes in the car but at the same time I needed to make the installation secure and "hidden". It has therefore taken a little while to complete with the custom brackets and aluminium sheets.
I have taken several photos of my installation and am quite happy for you to use any on your website or any other medium.
I shall be trying the installation out when I travel to Croatia later in the year so they should get a great test. I can let you know how I get on.
The photos are as follows.
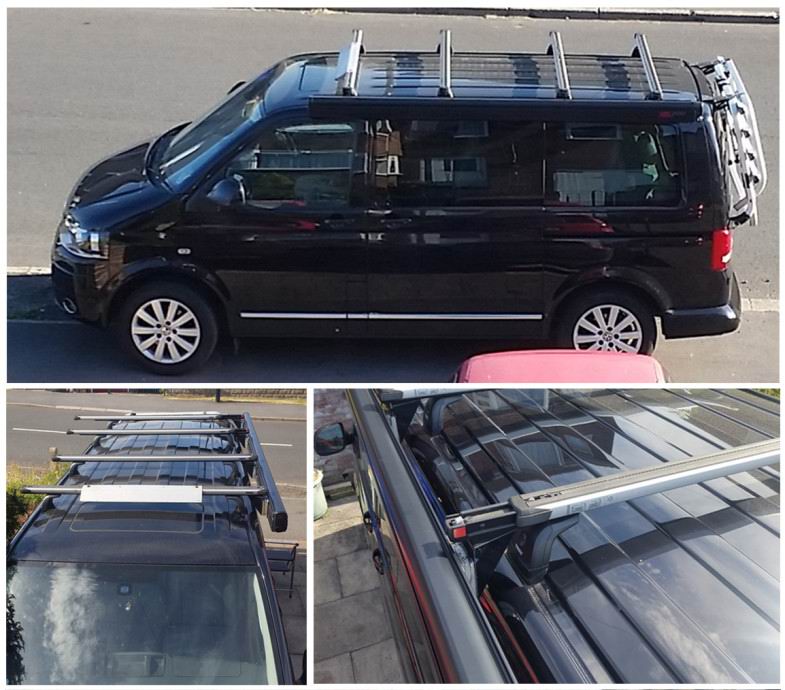
1. Short wheel base VW T5 Caravelle with Thule Slide Bars and Fiamma F45s sun canopy. This is before the installation started.
2. Again before the installation, but showing some of the slide bars pulled out.
3. Shows the mounting of the F45S Canopy and the Thule slide bar partially pulled out.
4. Angle aluminium bracket mounted between the sun canopy supports and to be used to support one edge of the aluminium sheet that supports the solar panels. Other steel brackets (not shown) will support the panel at various points.
5. Existing wiring to the canopy lighting and the edge of the mounting bracket.
6. Aluminium back plat ready for the solar panel.
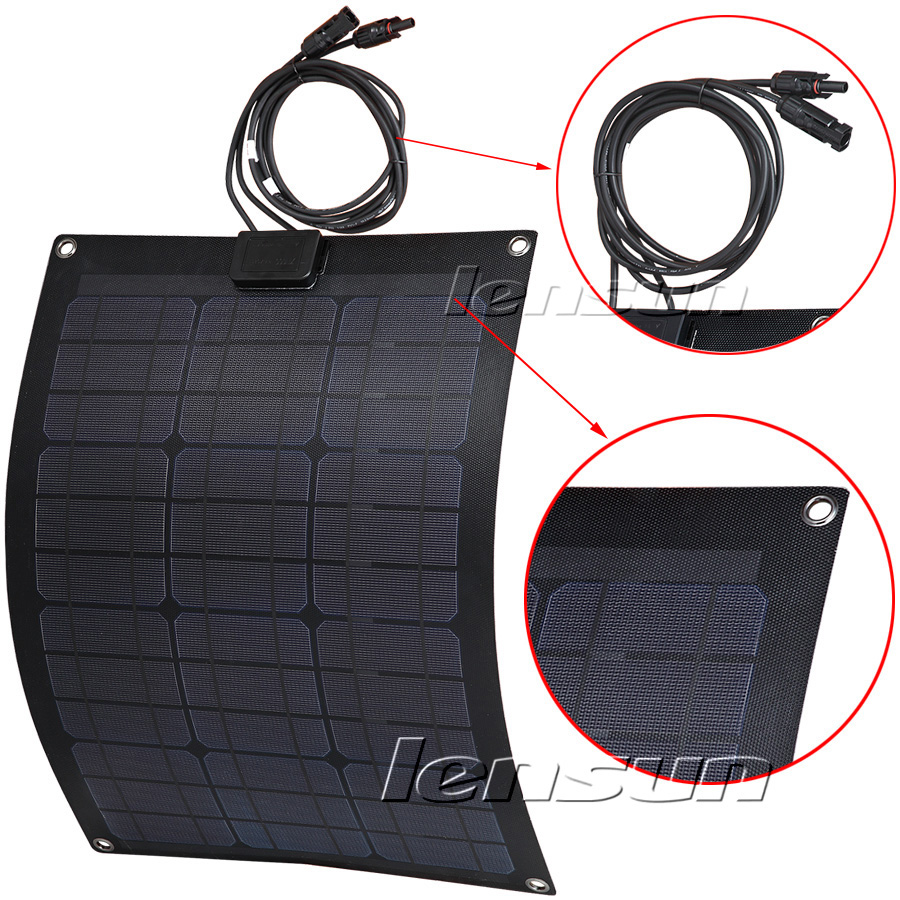
7. 50W solar panel ready for mounting.
8. Solar Panel stuck to the aluminium sheet with silicon.
9. Eyelet sealed so water cannot get underneath.
10. Edge sealed so no water ingress along the edge.
11. First panel installed.
12. First panel bolted down to brackets that are hung under the roof bars.
13. Showing that the slide bars can still move.
14. Under the roof bars, showing minimal impact to the are beneath the bars.
15. All three panels fitted.
16. Thule slide bars can still be slid out to aid load carrying.
17. Wiring for the first panel.
18. Wiring for the second panel.
19. Wiring for the third panel and the 3 to 1 connectors. This is the only part of the installation I am not quite happy with as it would have been better to have the solar panels wires all different lengths, then there would be less cable to loop up.

20.Wires running down the rain channel near the tailgate.
21. Wires running down the side of the tailgate seal.
22. Wires going behind where the rear light cluster fits.
From this point the wires run under the floor and up into the battery bay under the front seat. They are connected to a CTEK D250SA DC - DC charger that is a combined MPPT solar and alternator charge unit.
I will let you know how I get on, on my travels and if you would like any further information please don't hesitate to ask.
In addition if you would like any trials of new or prototype equipment I would be interested to participate if you require independent review.
Because of the number of photos I will send them over several emails.
Andrew Brailsford
If you are interested in Lensun 50W black flexible solar panels(its update to 55w on Sep., 2018), You can click the following link to order it directly. Thanks.
If you are interested in other Lensun solar panels and need one sample to test first, please contact us in the following information. Thanks.
Contact information
www.lensunsolar.com
Tel: US +1 720-608-1288
China: +86 15759769602
Whatsapp: +86 15759769602
Skype: lensunsolar
Email: info@lensunsolar.com, lensunsolar@gmail.com


